
What’s the Best Way to Vacuum Hardwood Floors? A Safe, Effective Guide

Quick Answer
The best way to vacuum hardwood floors is to use a vacuum with a hard-floor setting and a soft floorhead or a brush roll that can be switched off. Remove loose grit first, vacuum in slow, overlapping passes, and use a suitable attachment along edges and between floorboards. Avoid abrasive brush action, hard or dirty wheels, and excessive pressure, and follow the flooring manufacturer’s care instructions.
1. Choose the Right Vacuum Setting for Hardwood
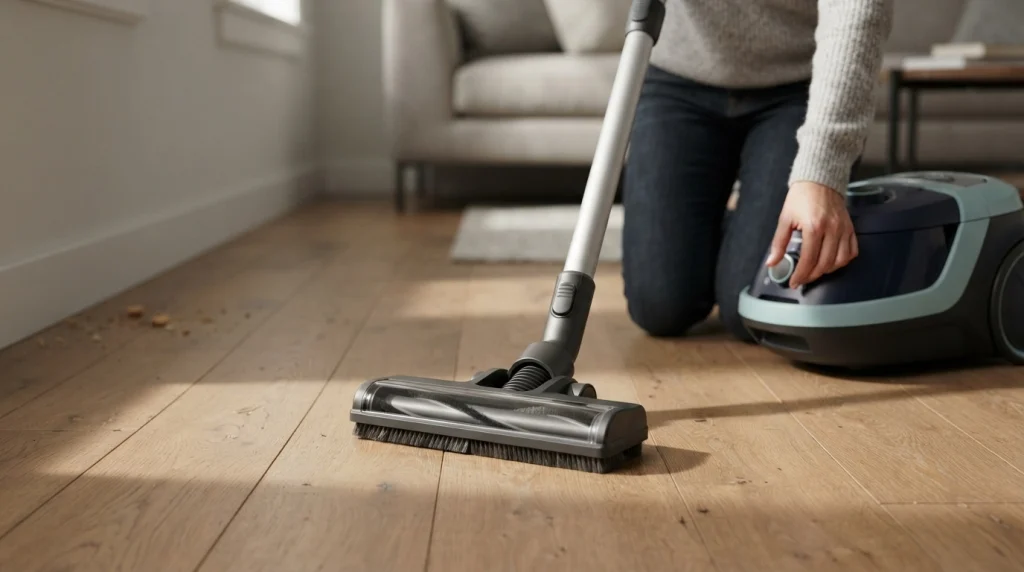
The most important step is to make sure your vacuum is configured for hard flooring rather than carpet. Hardwood floors need effective suction to collect dust, crumbs, and pet hair, but an unsuitable rotating brush can scatter debris or potentially damage a delicate finish.
Before you start, check your vacuum’s manual for the recommended hard-floor setting.
- Hard-floor mode: Use this setting when available. Depending on the model, it may reduce brush agitation, adjust suction, or change the floorhead position.
- Brush-roll switch: Turn off a conventional rotating brush or beater bar when the manufacturer recommends doing so for wood floors.
- Soft roller: A purpose-designed soft roller can collect fine dust and hair while being gentler on many bare floors.
- Suction control: Start with the manufacturer-recommended setting. Reduce excessive suction if the head becomes difficult to move and the manual permits adjustment.
The World Floor Covering Association’s hardwood care guidance recommends using a vacuum without a beater bar. The practical lesson is to prioritize suitable floorhead design and controlled cleaning rather than maximum brush agitation.
What if your vacuum has no hard-floor mode?
Use a compatible soft-bristle floor attachment or another tool approved for bare floors. If the rotating brush cannot be disabled, consult the manufacturer before using that head on hardwood.
Do not assume every vacuum with adjustable suction is automatically safe for wood. Brush design, wheel materials, trapped grit, and the floor’s finish also affect the risk of scratches.
2. Prepare the Floor Before Vacuuming
A quick inspection makes vacuuming more effective and helps prevent avoidable scratches. Dirt and grit can act like abrasives when dragged across the finish, particularly if they become trapped under a floorhead or wheel.
Follow these preparation steps:
- Pick up large objects. Remove toys, coins, cables, paper clips, and other items that could jam the vacuum or scratch the floor.
- Check for loose grit. If the floor has sand, gravel, or other coarse debris, gently collect it with a soft broom or dustpan before running the vacuum over it.
- Inspect the wheels and floorhead. Look for trapped particles, rough edges, or damaged components that could mark the finish.
- Move small furniture where practical. Shift lightweight chairs or baskets so you can reach the floor beneath them without forcing the vacuum into tight spaces.
- Check the dust container. Empty an overly full bin or replace a full bag according to the vacuum’s instructions.
If a spill is present, deal with it before vacuuming. A conventional dry vacuum should not be used to collect liquid unless the manufacturer explicitly identifies it as suitable for that purpose.
3. Vacuum Hardwood Floors Using Slow, Overlapping Passes
Work systematically from the far side of the room toward the exit. Slow, overlapping passes help you cover the entire floor without repeatedly cleaning the same areas or leaving strips of dust behind.
- Start at the room’s farthest corner. Plan a path toward the doorway so you can finish without walking repeatedly across cleaned sections.
- Move in straight lines. Guide the floorhead forward and backward in manageable strips rather than swinging it randomly from side to side.
- Overlap each pass slightly. This reduces the chance of leaving narrow uncleaned gaps between adjacent strips.
- Slow down around visible debris. Give crumbs, pet hair, and dirt in busy areas extra attention. Make another pass if needed.
- Change direction where useful. A second pass from a different angle can help collect debris that was missed during the first pass.
- Finish the edges and corners. Use a suitable crevice tool or soft attachment where the main floorhead cannot reach.
You do not need to vacuum every section the same number of times. A lightly used bedroom may need less attention than an entrance or dining area where grit and crumbs collect quickly.
How should you vacuum between floorboards?
Use a suitable floorhead that can collect loose debris from the surface and accessible gaps. For narrow spaces, a compatible crevice attachment may help remove accumulated dust.
Avoid forcing a rigid nozzle into a gap or scraping its edge against the floor. If your flooring has unusually wide gaps, exposed seams, or a damaged finish, follow the floor manufacturer’s guidance before using a narrow attachment.
4. Protect the Floor From Scratches and Finish Damage
The safest vacuuming technique combines an appropriate attachment with careful handling. Even a vacuum marketed for hard floors can leave marks if grit is trapped under the head or a wheel is damaged.
Use these precautions:
- Keep the wheels clean. Remove embedded dirt and inspect them for damage. Do not continue using a floorhead with a rough or broken wheel that may mark the surface.
- Avoid dragging heavy equipment. Lift or reposition the vacuum carefully when necessary instead of pulling it across the floor in a way that could scratch the finish.
- Do not press down unnecessarily. Let the floorhead work as designed. Excessive pressure can make movement harder and increase contact with trapped debris.
- Use soft attachments around delicate areas. Take extra care near thresholds, trim, and exposed floor edges.
- Do not assume all wood finishes are identical. The appropriate care method can vary by finish, flooring construction, and manufacturer.
The American Hardwood Information Center’s floor-care guidance recommends removing dirt and grit regularly with a dust mop or a vacuum designed for hardwood, or with the beater bar turned off.
If you notice fresh scratches after vacuuming, stop and inspect the floorhead and wheels before continuing. Check whether the marks are in the finish or are simply loose residue that can be wiped away safely. Do not apply polish, wax, or abrasive cleaners to conceal the problem without confirming that the treatment is suitable for your flooring.
5. Remove Dust, Pet Hair, and Debris From Difficult Areas
A good vacuuming routine covers more than the open floor. Dust and hair often accumulate along baseboards, under furniture, around chair legs, and in corners.
For pet hair
Use a floorhead designed for hard surfaces that can pick up hair without relying on aggressive brush action. If hair collects around furniture legs, switch to a compatible small attachment.
If you have shedding pets, vacuum more frequently in their favorite resting areas. Remove tangled hair from the vacuum’s brush roll as directed by the manufacturer, with the machine disconnected from power.
For corners and baseboards
Use a soft brush attachment or crevice tool suited to the surface. Move along the edges without scraping the nozzle against the wood or trim.
Under furniture
A low-profile floorhead or extension wand can reach beneath furniture without requiring you to drag it around. Check the floor clearance first, and never force the head into a space where it becomes stuck.
For rugs on hardwood
Vacuum rugs using a setting suitable for the rug’s material. Check that the rug is secure and that its backing or underside does not contain abrasive grit. Be especially careful around fringes and edges, which can become caught in a rotating brush.
If you move a rug to clean beneath it, inspect the exposed hardwood for trapped sand and dirt before replacing the rug.
6. How Often Should You Vacuum Hardwood Floors?
Vacuuming frequency should match how quickly your home accumulates dirt rather than a rigid schedule. High-traffic rooms, pet areas, and entrances generally need more frequent cleaning than rooms used occasionally.
Use this practical guide as a starting point:
| Area or situation | Practical approach |
|---|---|
| Entryways and busy hallways | Vacuum whenever visible grit builds up; this may mean several times a week. |
| Living and dining rooms | Use a regular routine and add passes after heavy use or spills involving dry debris. |
| Homes with shedding pets | Clean hair-prone areas more often, based on the amount of shedding. |
| Guest rooms and low-traffic spaces | Vacuum as needed, checking for dust and debris before they accumulate. |
A useful rule is to remove visible grit promptly and clean high-traffic areas before dirt becomes widespread. Regular dry cleaning reduces the amount of abrasive material left on the floor between deeper cleaning sessions.
7. Maintain Your Vacuum for Better Hardwood Cleaning
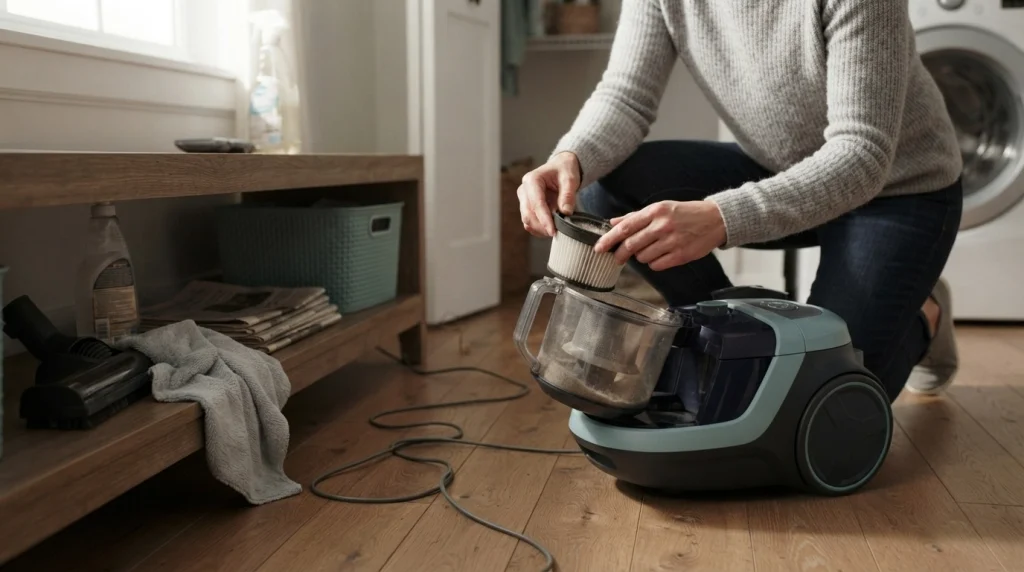
A clean, properly maintained vacuum is easier to use and less likely to leave debris behind. Reduced suction, a blocked intake, or tangled hair can undermine even a good cleaning technique.
After vacuuming, check the following:
- Dust bin or bag: Empty or replace it according to the manufacturer’s instructions.
- Brush roll: Remove hair and thread if the model has a brush roll that requires maintenance.
- Filter: Clean or replace it only as directed. Never assume a filter is washable.
- Floorhead and wheels: Remove trapped debris and check for wear or damage.
- Hose and attachments: Inspect for blockages if pickup has weakened.
For more detailed instructions, see our guides to the vacuum parts that need regular cleaning and how to maintain a vacuum cleaner.
Disconnect the vacuum from power before clearing a brush roll or blockage, and follow the model’s instructions for any disassembly. If the vacuum starts leaving debris despite the correct setting and a clear floorhead, check its maintenance condition before assuming the hardwood itself is difficult to clean.
8. Common Hardwood Vacuuming Mistakes to Avoid
Avoid these common mistakes to protect the finish and improve cleaning results:
- Leaving the beater bar running: A conventional aggressive brush can be unsuitable for hardwood. Switch it off or use the manufacturer-approved hard-floor head.
- Rushing through the room: Fast passes can leave hair and debris behind. Move steadily and overlap adjacent passes.
- Ignoring grit on wheels: Dirt trapped under the floorhead can scratch the surface as you move.
- Using the wrong attachment: A tool intended for carpet or another surface may not be appropriate for finished wood.
- Using a dry vacuum on liquid spills: Unless the model is explicitly designed for wet pickup, remove liquids using a suitable method and dry the area promptly.
- Assuming vacuuming replaces all other care: Vacuuming removes loose dirt, but sticky residue or dried spills may require a separate cleaning method approved for the floor finish.
The National Wood Flooring Association’s care guidance, reproduced in this wood-floor care reference, likewise advises using hard-surface vacuum settings and turning off the beater bar when present.
Frequently Asked Questions
1. Is it better to sweep or vacuum hardwood floors?
Both can work. A soft broom or microfiber dust mop is useful for loose debris and quick daily cleaning, while a suitable vacuum can collect fine dust, hair, and dirt from accessible gaps. Choose the method that removes debris without scratching the finish.
2. Should I turn off the brush roll when vacuuming hardwood?
Turn it off when your vacuum manufacturer recommends doing so for hard floors. A purpose-designed soft roller may be suitable for some hardwood surfaces, but a conventional carpet beater bar can create unnecessary agitation.
3. Can I use a regular upright vacuum on hardwood floors?
Yes, if the model has a suitable hard-floor setting or compatible attachment and can be used safely on your floor’s finish. Check whether the brush roll can be switched off and whether the floorhead and wheels are appropriate.
4. Why does my vacuum leave dust behind on hardwood?
Possible reasons include a full dust container, clogged filter or hose, unsuitable floorhead, debris trapped around the intake, or passes that are too fast. Check these areas and follow the vacuum’s troubleshooting instructions.
5. Should I vacuum hardwood floors before mopping?
Yes, when the floor needs mopping. Vacuuming first removes loose dirt and grit that could otherwise be spread across the surface during wet cleaning. Use a cleaner and moisture level approved for your flooring.
6. Can vacuuming scratch hardwood floors?
It can if the floorhead or wheels are unsuitable, debris becomes trapped underneath, or a rotating brush is too aggressive for the finish. Use an appropriate attachment, keep contact surfaces clean, and stop if you notice new marks.
Final Takeaway
The best way to vacuum hardwood floors is to use a suitable hard-floor setting, remove loose grit before cleaning, and work in slow, overlapping passes. Pay particular attention to edges, furniture legs, and high-traffic areas, where dirt tends to collect.
Keep the vacuum’s floorhead and wheels clean, maintain the filter and airflow path according to the manual, and avoid aggressive brush action when it is unsuitable for the floor. When vacuuming is combined with appropriate routine care, it helps remove abrasive debris while preserving the appearance of the hardwood finish.