Why Does My Vacuum Lose Suction After Replacing the Filter?

Quick Answer
A vacuum can lose suction after a filter replacement because the new filter is incompatible, incorrectly seated, obstructed, or still damp. A clogged hose, full dust container, displaced seal, or blocked airflow passage can also cause the problem. Turn off and unplug the vacuum, check the filter installation first, and then inspect the rest of the airflow path.
If your vacuum worked better before you replaced its filter, the timing is an important clue. The replacement may not fit the machine correctly, a seal may have shifted during installation, or another airflow restriction may have become noticeable when you restarted it.
You do not necessarily need another filter or a new vacuum. A few systematic checks can help you identify whether the problem comes from the filter itself, the way it was installed, or a blockage elsewhere.
Why would a new vacuum filter reduce suction?
A vacuum needs an unobstructed airflow path to collect dirt effectively. Its motor and fan move air through the intake, dust container, filtration system, and exhaust. If a component restricts that path or allows air to leak through an unintended opening, cleaning performance can suffer.
A new filter does not automatically guarantee better suction. It must have the correct design, fit securely, and allow the airflow intended by the manufacturer.
The most useful distinction is whether the problem began immediately after installation or developed after the vacuum ran for a while. An immediate change points toward fit, compatibility, assembly, or a pre-existing blockage. A later decline may indicate accumulating debris, a filter that is not suitable for the machine, or a component that is becoming obstructed.
1. Check whether the replacement filter is compatible
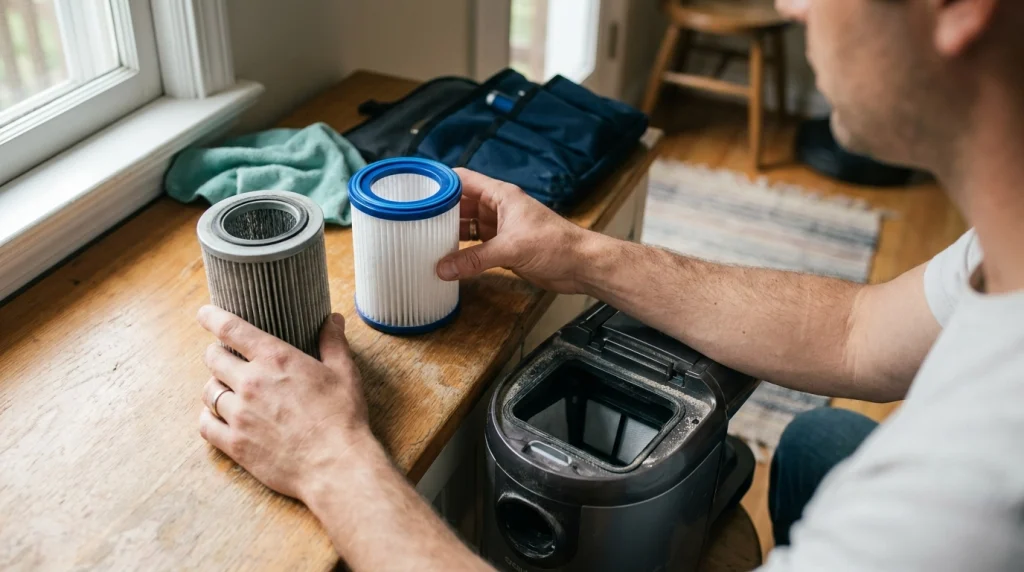
A replacement filter can look almost identical to the original and still be unsuitable for your vacuum. Differences in dimensions, thickness, pleat design, sealing surfaces, and mounting points can affect how air moves through the machine.
Check the following before trying anything more complicated:
- Model compatibility: Match the filter to the vacuum’s exact model number, not just its brand or general product family.
- Filter type: Confirm that you purchased the correct pre-motor, post-motor, exhaust, or other designated filter.
- Physical dimensions: Compare the new filter with the old one for differences in height, diameter, thickness, or shape.
- Sealing edges: Look for a gasket, foam border, or molded rim that may be missing, damaged, or incorrectly sized.
- Protective packaging: Remove any shipping cover or packaging that the manufacturer’s instructions say must be removed before operation.
Do not assume that a filter is compatible simply because it fits loosely into the compartment. A filter that is too small may allow air to bypass the intended filtration path, while an unsuitable or overly restrictive design may interfere with airflow.
If the replacement does not match the required specifications, stop using it and obtain the correct part. Do not trim, stretch, or modify the filter to make it fit.
2. Make sure the filter is installed correctly
Incorrect installation is one of the first things to investigate when suction drops immediately after a filter change. A filter can appear to be in place while remaining tilted, loose, or incompletely secured.
- Disconnect power. Switch off and unplug a corded vacuum. Remove the battery from a cordless model if the manufacturer’s instructions permit it.
- Open the filter compartment. Follow the model’s instructions rather than forcing clips or covers.
- Remove and inspect the filter. Check its orientation, edges, frame, and any locking tabs for damage or trapped debris.
- Reinstall it carefully. Align the filter with its guides and press or turn it into position as directed. Make sure any locking mechanism engages.
- Reassemble the vacuum. Secure the filter cover, dust container, and other parts removed during the replacement.
- Test the vacuum. Once everything is secured, reconnect power and check whether suction has returned.
Some vacuums will not operate properly if a dust container, filter door, or housing is not fully closed. Others use a specific filter orientation to maintain the intended airflow. Consult your model’s manual if the installation is not obvious.
Tip
If you kept the old filter, compare its shape, seals, and mounting points with the replacement. A side-by-side comparison can reveal a missing gasket or a subtle difference in fit.
3. Could the filter be damp or too restrictive?
Yes. A damp filter can impede airflow, and a replacement with unsuitable filtration characteristics may also reduce performance. However, these are different problems and require different solutions.
Moisture in a washable filter
If you washed a filter before reinstalling it, it may still contain moisture even if its surface feels dry. Installing a damp filter can restrict airflow and may cause problems depending on the filter material and vacuum design.
Remove it only after disconnecting power, then follow the manufacturer’s drying instructions. Some washable filters require at least 24 hours to dry completely, but the required time varies by model and conditions. Do not use a heater, oven, tumble dryer, or direct flame to speed up drying.
Never assume that a new filter is washable. Many paper or pleated filters are designed for replacement rather than rinsing. Water can damage filter media that is not intended to be washed.
Excessively restrictive or incorrect filter media
A replacement filter may have different airflow characteristics from the part specified for the machine. A higher filtration rating alone does not establish compatibility, and a tighter-fitting material is not necessarily better for every vacuum.
Use the filter type specified by the manufacturer. If the filter is correctly installed and fully dry but suction remains poor, compare its part number with the original specification rather than attempting to modify it.
4. Inspect the dust bin, bag, and filter seals
Replacing a filter often requires removing the dust container or opening part of the vacuum. During reassembly, debris can remain around the housing, a seal can become displaced, or the container may not lock into place.
- Empty the dust bin: Packed debris can restrict airflow even when the filter is brand-new.
- Check the vacuum bag: On bagged models, inspect the bag for overfilling or incorrect installation.
- Inspect the seals: Look for displaced gaskets, torn foam, cracked plastic, or dirt on the surfaces where components meet.
- Secure the container: Confirm that the bin or bag compartment closes and latches as intended.
- Check the filter cover: Make sure it is seated correctly and that no clips are broken.
A seal problem can allow air to take an unintended route through the machine. This may reduce pickup performance or allow dust to escape. Do not run the vacuum with a filter or required housing component missing to see whether suction improves.
5. Look for a blockage beyond the filter
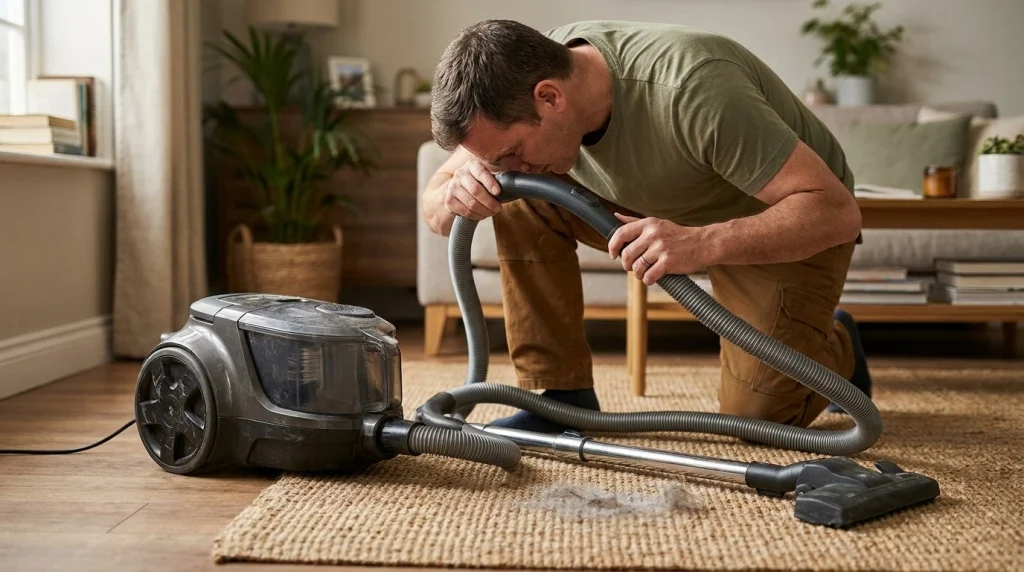
A new filter will not restore suction if dust, hair, lint, or another object is blocking the hose, wand, intake, or floor head. The obstruction may have existed before the replacement and become noticeable when the vacuum was tested again.
With the machine switched off and disconnected from power, inspect these areas:
- Hose: Check for compacted dirt, trapped objects, kinks, or cracks.
- Wand and attachments: Look through accessible openings for debris that narrows the passage.
- Floor head: Inspect the intake opening for clumps of hair, carpet fibers, or other obstructions.
- Brush roll: Remove wrapped hair and thread according to the manual. A tangled brush can reduce pickup even when motor suction is adequate.
- Air passages: Check accessible ducts and exhaust openings for obstructions without dismantling sealed components.
Do not push a sharp object through the hose or filter compartment. Use only the cleaning methods and tools approved for your model.
If the vacuum has good suction at the machine’s hose inlet but poor suction at the end of the hose or floor head, the problem is more likely to be farther along the airflow path. This is a useful diagnostic distinction described in BISSELL’s official low-suction troubleshooting instructions.
6. Use this quick diagnostic guide
Once the filter is correctly fitted, dry if necessary, and compatible with your model, the location and timing of the suction loss can help narrow down the cause.
| What you notice | What to check next |
|---|---|
| Suction dropped immediately after installation | Filter compatibility, orientation, seals, and cover closure |
| Suction is weak everywhere | Filter seating, full bin or bag, internal airflow restriction |
| Hose suction is strong but floor pickup is poor | Floor-head blockage, brush roll, height setting, or attachment |
| Dust escapes around the housing | Missing filter, damaged seal, or incorrectly closed compartment |
| Vacuum pulses, overheats, or repeatedly shuts off | Restricted airflow, overheating protection, or a possible fault |
These clues narrow the search but do not prove a particular fault. Vacuum designs differ, so use the model-specific troubleshooting procedure when the results are unclear.
7. When should you stop troubleshooting?
Stop using the vacuum if it develops a burning smell, unusual heat, smoke, damaged wiring, or repeated protective shutdowns. Disconnect power when safe and allow the machine to cool before inspecting accessible parts. Do not keep restarting it to see whether the problem disappears.
If the filter fits correctly, the bin and air passages are clear, and suction is still weak, the cause may involve an internal seal, fan, motor, sensor, or another component that requires model-specific diagnosis.
At that point, check the manufacturer’s troubleshooting guidance or contact its support service. Have the exact model number and replacement filter part number ready. These details can help establish whether the filter is correct and whether the next step should be a replacement part or a service inspection.
For a broader sequence of checks covering other common causes, see our guide to fixing low vacuum suction. If your vacuum also shuts off unexpectedly, learn what can cause a vacuum to shut down and when airflow restrictions may be involved.
Frequently Asked Questions
Can the wrong vacuum filter cause permanent damage?
An incompatible filter can interfere with airflow or filtration, but permanent damage is not inevitable. Stop using the vacuum until you confirm that the filter is correct and installed properly. Follow the manufacturer’s instructions if the machine has overheated or shut down repeatedly.
Should I remove the new filter to test the suction?
No. Do not operate a vacuum without its required filter. Unfiltered dust can reach internal components or escape into the room. Use the manufacturer’s approved suction-testing procedure instead.
Why does my vacuum sound normal but pick up less dirt?
Motor noise alone does not confirm adequate airflow. A partial blockage, air leak, incorrect filter installation, or problem at the floor head can reduce pickup without producing an obvious change in sound.
Can a new filter be defective?
Yes. A replacement can be damaged, misshapen, or manufactured incorrectly. If it matches the required part number but does not fit or perform as expected, stop using it and contact the seller or manufacturer about a replacement.
How long should I wait before using a washed filter?
Wait until the filter is completely dry according to the instructions for your exact model. Some manufacturers specify at least 24 hours, but this is not universal. Never reinstall a damp filter or wash one that is marked non-washable.
Why did replacing the filter not fix my vacuum’s weak suction?
The original problem may be a blocked hose, full bag, obstructed floor head, leaking seal, or internal fault rather than the filter. Check the airflow path systematically and seek model-specific support if suction remains weak after the accessible checks.
Conclusion
If your vacuum loses suction after a filter replacement, start by checking the new filter’s compatibility, orientation, fit, and seals. Then make sure the dust container is secure and inspect the hose, wand, and floor head for blockages. If the filter was washed, let it dry completely according to the manufacturer’s instructions before reinstalling it.
These checks address many installation and airflow problems without unnecessary part replacements. If suction remains weak, or the vacuum overheats, smells burnt, or repeatedly shuts off, stop using it and follow the manufacturer’s model-specific guidance. A correct diagnosis is more useful than repeatedly replacing filters that may not be the source of the problem.