
Why Is My Vacuum Cleaner Squeaking? 7 Causes & Fixes

Quick Answer
Your vacuum cleaner may be squeaking because hair or debris is trapped in the brush roll, the belt is worn or slipping, a wheel is rubbing, or airflow is restricted. Turn off and unplug the vacuum before inspecting it. Start by checking the floor head and brush roll, then investigate other causes if the noise continues.
A squeaking vacuum cleaner usually points to friction, a moving part that is obstructed, or air escaping through a restriction or poorly seated seal. The sound alone cannot identify the exact fault, but when it starts and where it comes from can help narrow the cause.
For example, a squeak that begins when the floor brush touches carpet suggests a different problem from a high-pitched noise that continues when you use the vacuum’s hose or handheld unit. Identifying that difference can prevent unnecessary part replacements.
1. What Are the Most Common Reasons a Vacuum Cleaner Squeaks?
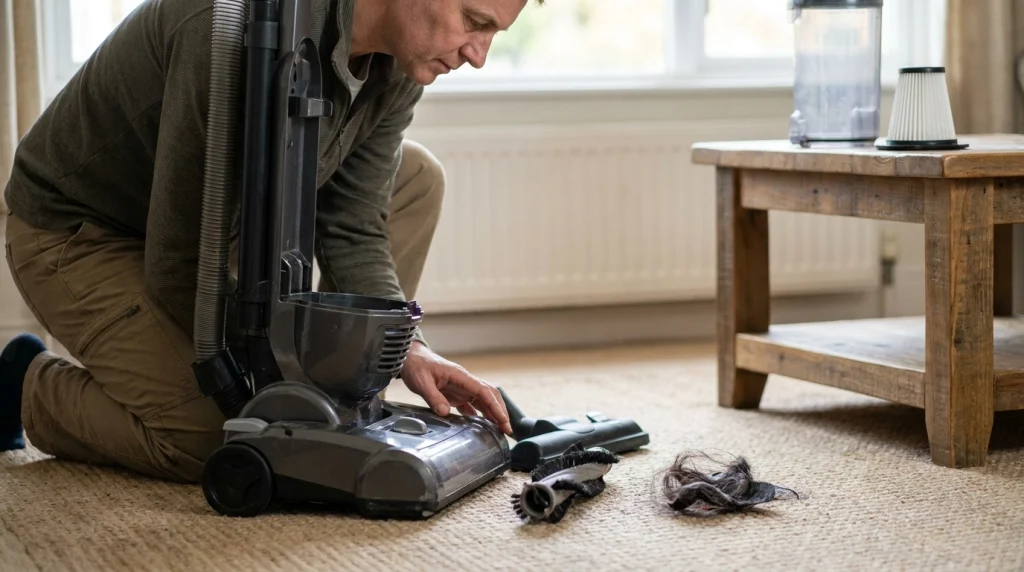
The most useful starting point is the location and timing of the sound. These are the main possibilities to investigate.
- Hair or debris in the brush roll: Tangled fibers can interfere with the rotating brush and cause friction, vibration, or unusual noise.
- A worn or slipping belt: On belt-driven models, a stretched, damaged, or incorrectly fitted belt can squeal as it drives the brush roll.
- Dirty, damaged, or obstructed wheels: Debris around a wheel or axle can create squeaking as the vacuum moves across the floor.
- A restricted airflow path: A clogged hose, dirty filter, full dust container, or obstructed inlet can change airflow and produce a whistle or other high-pitched sound.
- A loose or damaged component: A poorly seated cover, worn brush-roll bearing, damaged roller, or loose fitting can cause rubbing or vibration.
- Floor contact: The floor head, wheels, or brush may make noise when the vacuum is pushed over a particular surface or used at an unsuitable height setting.
- An internal mechanical fault: If the sound continues after basic checks, a motor bearing or another internal component may need professional attention.
These are possibilities, not a diagnosis. Some modern cordless and direct-drive vacuums do not use a conventional brush belt, so always check your model’s manual before assuming a belt is responsible.
2. How Can You Find Where the Squeaking Comes From?
Before taking anything apart, notice when the noise appears. This simple distinction helps you focus on the most likely area instead of dismantling the entire appliance.
| When the noise occurs | What to inspect first |
|---|---|
| Only while moving the vacuum | Wheels, floor-head contact, and handle joints |
| When the brush roll is engaged | Brush roll, belt if fitted, and roller ends |
| Even with the floor brush switched off | Airflow path, seals, and internal components |
| Along with weaker suction | Dust container, filters, hose, and air inlets |
| After picking up a hard object | Brush roll, floor-head housing, and visible damage |
This guide is a starting point, not a substitute for model-specific troubleshooting. A high-pitched whistle, for example, may indicate an airflow restriction or a damaged seal rather than a mechanical squeak. The Dyson vacuum noise troubleshooting guide similarly separates squeaking and other unusual sounds into different diagnostic paths.
3. How to Fix a Squeaking Vacuum Cleaner Safely
Work through the checks in order, beginning with the parts that are easiest to inspect. Switch the vacuum off, unplug a corded model, and remove the battery from a cordless model if the manufacturer permits it to be removed. Never inspect a powered brush roll with your fingers near its moving parts.
Step 1: Remove hair and debris from the brush roll
Turn the vacuum over only as directed by its manual. Look for hair, thread, carpet fibers, string, and small objects wrapped around the roller or caught at either end.
- Release the floor head or brush cover using the specified clips, fasteners, or release mechanism.
- Remove visible debris carefully. If cutting tangled hair with scissors, keep the blades away from bristles, rubber strips, wiring, and the roller itself.
- Check the roller ends and accessible housing for compacted dirt or trapped fibers.
- Reinstall the roller and cover securely before testing the vacuum.
A roller that is cracked, warped, or difficult to turn should not be forced. Some brush rolls have drive mechanisms that prevent free rotation when assembled, so follow the manufacturer’s inspection instructions rather than assuming every roller should spin freely by hand.
Step 2: Inspect the belt if your vacuum has one
A belt transfers motion to the brush roll on models that use a belt-driven system. A damaged belt may slip, squeal, or fail to rotate the brush properly. However, squeaking does not automatically mean the belt needs replacement.
With the machine disconnected from power, inspect the belt if the manual provides access. Look for visible cracks, fraying, stretching, burning, or incorrect seating. Replace it only with a belt specified for your model, and check that the brush roll and its bearings are not obstructed before installing the new part.
Do not run the vacuum with the belt cover removed unless the manufacturer explicitly instructs you to perform a particular test that way. If the belt appears intact but the noise continues, another component may be responsible.
Step 3: Check the wheels and floor head
If the squeak happens mainly when you push or pull the vacuum, inspect its wheels and the joints connecting the floor head to the body. Remove hair or debris caught around accessible wheel axles, and check for cracks, loose fittings, or a wheel that does not move as expected.
Also try the correct floor setting for the surface. A floor head set too low on thick carpet may be difficult to push, while an unsuitable brush setting can create unwanted contact. Use the adjustment recommended in your model’s manual rather than applying oil or lubricant to the wheels or joints.
Step 4: Check the dust container, filters, and hose
A squeak-like whistle may come from air moving through a restricted opening or escaping through a damaged seal. Empty the dust cup or replace the bag when needed, then inspect the accessible hose, wand, inlet, and floor-head opening for blockages.
Clean the filters according to the manufacturer’s instructions. Some filters can be washed, while others must stay dry. If washing is permitted, let the filter dry completely for the period specified in the manual before reinstalling it. A damp filter can damage some vacuum cleaners or interfere with their operation.
Check that the dust container, hose connections, and filter covers are fitted correctly. Do not poke sharp objects into a hose or dismantle a sealed motor housing to find a blockage.
Step 5: Test the vacuum after reassembly
Reassemble every component and make sure all covers and attachments are secure. If the manual permits normal operation testing, switch the vacuum on briefly in a clear area and listen for changes.
- If the noise disappears after removing tangled fibers, the obstruction was likely contributing to the problem.
- If the squeak occurs only with the brush roll engaged, the brush assembly or its drive system needs further investigation.
- If the sound remains when using the vacuum without the floor head, follow the model-specific procedure for checking airflow and internal components.
- If the noise becomes louder or the vacuum loses performance, stop the test rather than repeatedly running the machine.
Tip
Change only one thing at a time during troubleshooting. Cleaning the brush roll, checking the airflow, and replacing several parts all at once makes it harder to identify the actual cause and can lead to unnecessary repairs.
4. When Does Squeaking Mean Something More Serious?
A brief squeak caused by tangled hair or a loose piece of debris may be resolved with routine cleaning. A persistent squeal, grinding sound, or sudden change in the motor’s noise deserves more caution, especially if basic maintenance has not helped.
Stop using the vacuum and disconnect it from power if you notice any of the following:
- A burning or electrical smell, visible smoke, or sparks.
- A damaged power cord, exposed wiring, or a cracked electrical housing.
- A sudden grinding or harsh mechanical noise.
- Excessive heat, repeated shutdowns, or a brush roll that remains jammed.
- A squeal accompanied by a sudden loss of suction or other significant change in performance.
Do not keep switching the machine on to see whether a serious noise goes away. If the brush roll is clear, the filters and airflow path have been checked, and the sound persists, contact the manufacturer or a qualified repair technician. Worn bearings, damaged drive components, or internal motor faults may require tools and expertise beyond routine maintenance.
For model-specific maintenance, the Shark upright vacuum maintenance guide explains routine brush-roll cleaning, blockage checks, and other basic care steps. Follow your own model’s instructions where they differ.
5. How Can You Prevent the Squeaking From Returning?
Regular maintenance reduces the chance that hair, debris, and restricted airflow will cause another noise problem. It cannot prevent every mechanical failure, but a few consistent habits make it easier to notice developing issues before they worsen.
- Clean the brush roll regularly. Remove hair and fibers at the interval recommended for your vacuum and more often if you clean homes with long-haired occupants or pets.
- Empty the dust cup or replace the bag promptly. Follow the fill indicators and instructions rather than allowing debris to accumulate excessively.
- Maintain the filters. Clean or replace them according to the manual, and never reinstall a washable filter before it is fully dry.
- Check the floor head after picking up an unusual object. A sudden noise after collecting a hard item may indicate that the roller or housing needs inspection.
- Use the appropriate floor setting. Adjust brush controls and height settings as specified for carpets and hard floors.
- Inspect accessible moving parts. Look for damage, loose covers, and trapped debris during routine cleaning.
Avoid spraying general-purpose lubricant, household oil, or silicone products into the vacuum to silence a squeak. Lubricants may damage belts, attract dirt, contaminate surfaces, or reach electrical components. Use a lubricant only if the manufacturer specifies the exact product and application point.
Frequently Asked Questions
Why does my vacuum squeak only on carpet?
The brush roll or floor head may be experiencing increased resistance, or a wheel may be rubbing as you move across the carpet. Check for tangled fibers, confirm the height and brush settings are appropriate, and inspect the roller for visible damage with the vacuum disconnected from power.
Why does my vacuum squeak when I pull it backward?
A wheel, swivel joint, or floor-head component may be rubbing or moving differently when the vacuum changes direction. Inspect accessible wheels and joints for trapped debris or damage. Do not apply lubricant unless the manufacturer recommends it.
Can a dirty filter make a vacuum squeak?
A dirty or obstructed filter can restrict airflow and contribute to a whistle or other unusual sound. It is less conclusive as an explanation for a mechanical squeak, so also inspect the brush roll and moving parts.
Why is my vacuum squeaking but still picking up dirt?
A vacuum can retain suction while a belt, roller, wheel, or bearing begins to wear. Continued pickup does not prove that the machine is operating normally. Inspect accessible components and stop using it if the sound becomes harsh or is accompanied by heat, a burning smell, or reduced performance.
Should I replace the vacuum belt as soon as it squeaks?
No. First check for tangled debris, a jammed brush roll, and visible belt damage if your model uses a belt. Replace a belt when inspection or model-specific troubleshooting indicates that it is worn, damaged, stretched, or incorrectly fitted.
Is it safe to use a vacuum cleaner that keeps squeaking?
A mild noise does not always indicate an immediate hazard, but a persistent unexplained squeak should be investigated. Stop using the machine if you notice burning smells, smoke, sparks, excessive heat, grinding, damaged wiring, or a sudden performance change.
Conclusion
If your vacuum cleaner is squeaking, begin by identifying when the sound occurs and which part of the machine seems to produce it. Hair and debris around the brush roll, a worn belt on belt-driven models, obstructed wheels, and restricted airflow are useful starting points for troubleshooting.
Disconnect the vacuum before inspecting it, clean only the parts your manual permits you to access, and reassemble the machine before testing. If the squeaking continues after basic maintenance or comes with grinding, excessive heat, a burning smell, smoke, or electrical damage, stop using the vacuum and arrange a proper inspection. Finding the source of the noise is more useful than replacing parts based on sound alone.
