How to Store a Vacuum Cleaner Safely (And Protect Your Indoor Air)

When you finish cleaning your home, your first instinct is probably to shove the vacuum into the nearest closet and shut the door. But knowing how to store a vacuum cleaner properly is about much more than just saving space and hiding clutter. For homeowners concerned about indoor air quality, the way you maintain and store your vacuum directly impacts the health of your home.
A vacuum is essentially a high-powered filtration device. If stored improperly with a full dustbin, dirty filters, or trapped moisture, it can quickly become a breeding ground for mold, bacteria, and foul odors. The next time you turn it on, those trapped pollutants can be blown right back into your breathing space.
In this guide, we will walk you through the essential steps to prep and store your vacuum cleaner, the best places to keep it, and how proper storage extends the life of your machine while protecting your family’s respiratory health.
Quick Answer
Wondering how to store a vacuum cleaner properly? First, empty the dustbin or replace the bag to prevent odors and bacterial growth. Clean the brush roll and check the HEPA filter. Finally, coil the cord loosely and store the unit in a dry, temperature-controlled space like a hallway or utility closet.
Why Proper Vacuum Storage Matters for Home Air Quality
You might not think of your vacuum closet as a source of indoor air pollution, but it easily can be. Vacuums collect a dense mixture of human skin cells, pet dander, dust mites, food crumbs, and outside dirt.
When this organic matter sits inside a dark, warm closet for days or weeks, it begins to break down. This decomposition process releases Volatile Organic Compounds (VOCs) and unpleasant odors into the stagnant air of your storage space. If moisture was accidentally vacuumed up, mold spores can quickly multiply inside the dustbin or pleated filters.
According to the EPA’s guidelines on indoor particulate matter, fine particles and biological pollutants can easily become airborne and trigger allergic reactions or asthma attacks. By taking a few extra minutes to prep your vacuum before storing it, you ensure that these captured pollutants stay out of your home’s air cycle.
Step-by-Step Guide: How to Store a Vacuum Cleaner
To keep your home smelling fresh and your machine running efficiently, follow these preparation steps before putting your vacuum away.
Step 1: Empty the Dustbin or Replace the Bag
Never store your vacuum with a full or partially full dirt canister.
- For bagless vacuums: Detach the dustbin, empty it directly into an outside trash can to avoid sending dust plumes into your living room, and wipe the inside with a dry microfiber cloth.
- For bagged vacuums: Check the indicator line. If the bag is more than two-thirds full, replace it. Leaving a nearly full bag inside the unit reduces suction and creates a concentrated source of stale odors.
Step 2: Inspect and Clean the Filters
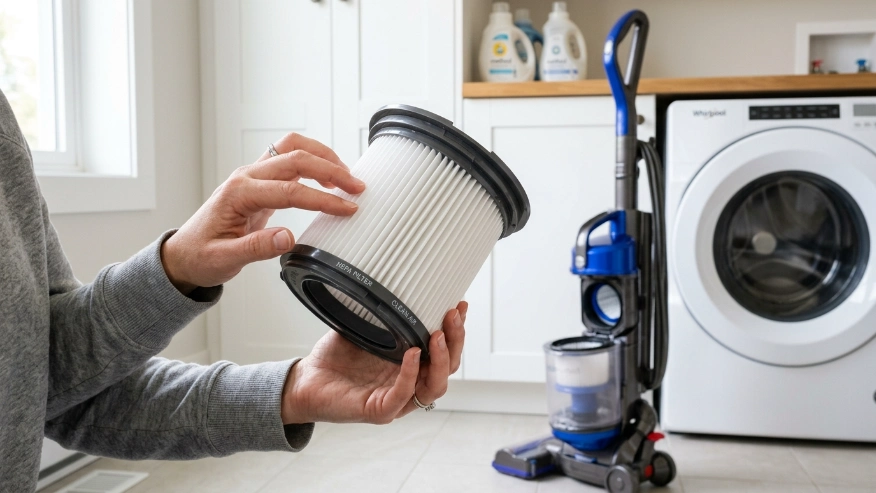
Your vacuum’s filters are the only thing standing between the dirt you just sucked up and the air you breathe. Most modern machines have a pre-motor filter and a post-motor HEPA filter.
- Tap the filters gently against the inside of your trash can to release loose dust.
- If you have washable filters, rinse them under cold water according to the manufacturer’s instructions.
- Crucial step: Never put a damp filter back into the vacuum. This is a primary cause of mold growth inside the machine.
Step 3: Clear the Brush Roll and Hose
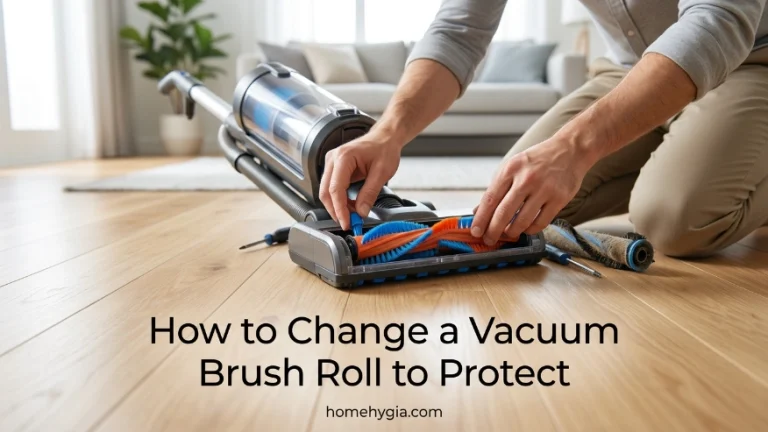
Hair, string, and carpet fibers frequently wrap around the motorized brush roll. Over time, this buildup strains the motor, leading to burning rubber smells.
- Use a pair of scissors to carefully snip away tangled hair.
- Check the flexible hose for any partial clogs. A trapped piece of debris, like a damp leaf or food crumb, will rot and cause terrible smells while sitting in storage.
Step 4: Manage the Power Cord Correctly
For corded vacuums, improper cord storage is a leading cause of electrical damage.
- Do not wrap the cord tightly around the storage hooks, as this stresses the internal wires near the plug.
- Instead, loop the cord loosely in a figure-eight pattern.
- If your vacuum has a retractable cord, guide the cord in slowly with your hand rather than letting it snap back violently, which can damage the internal winding mechanism.
Step 5: Choose a Safe Storage Location
Where you put the vacuum matters just as much as how you prep it. Vacuums contain sensitive motors, rubber belts, and delicate paper filters. They need to be stored in environments that are dry and temperature-controlled.
Best Places to Store Your Vacuum Cleaner
Finding the right spot can be tricky, especially in smaller homes or apartments. Here is a breakdown of the most common storage locations and how they impact the longevity of your machine and your home’s air quality.
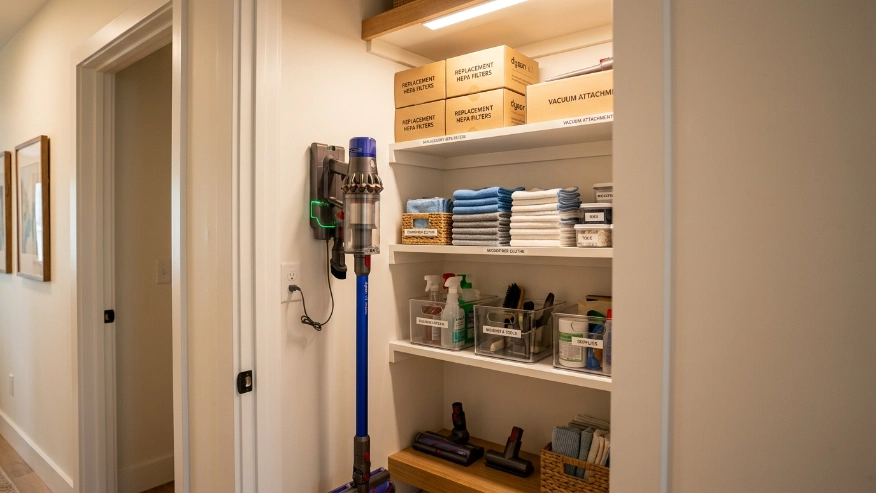
The Hallway or Utility Closet
This is generally the best option. Closets located inside the main living space of your home benefit from your HVAC system’s climate control. The temperature is stable, and humidity is kept low, preventing mold growth inside the vacuum’s dustbin.
Under the Bed or Sofa
For low-profile robotic vacuums or detachable stick vacuums, under-furniture storage is highly practical. It keeps the unit out of sight and frees up closet space. Just ensure the area under the bed is regularly dusted so the vacuum isn’t pulling in dust bunnies while charging.
The Garage or Unfinished Basement
Use caution here. Storing a vacuum in a damp, unconditioned space like a garage or basement is a major mistake. Fluctuating temperatures can degrade rubber belts and seals. More importantly, high humidity can easily seep into the vacuum’s pleated HEPA filter, turning it into a mold trap.
To maintain healthy indoor air, the Asthma and Allergy Foundation of America (AAFA) recommends keeping humidity-sensitive home appliances and filters inside climate-controlled living areas to prevent allergen proliferation.
Vacuum Storage Locations: Pros, Cons, and Air Quality Impact
| Storage Location | Pros | Cons | Air Quality Impact |
|---|---|---|---|
| Indoor Utility Closet | Temperature controlled, easy access, out of sight. | Takes up valuable storage space. | Excellent. Low humidity prevents mold and bacterial growth inside the machine. |
| Laundry Room | Keeps cleaning supplies localized, easy to empty bin nearby. | Can get humid if the dryer isn’t vented properly. | Good. Just ensure the room is well-ventilated to avoid damp filters. |
| Under Bed / Sofa | Great space-saver for stick and robot vacuums. | Difficult to access for larger upright models. | Neutral. Safe, provided the floor under the bed is kept dust-free. |
| Garage / Shed | Frees up all indoor space. | Subject to extreme heat, freezing cold, and high moisture. | Poor. High risk of mold growth in filters and degradation of rubber seals, which leads to dust leaks. |
Storing Different Types of Vacuums
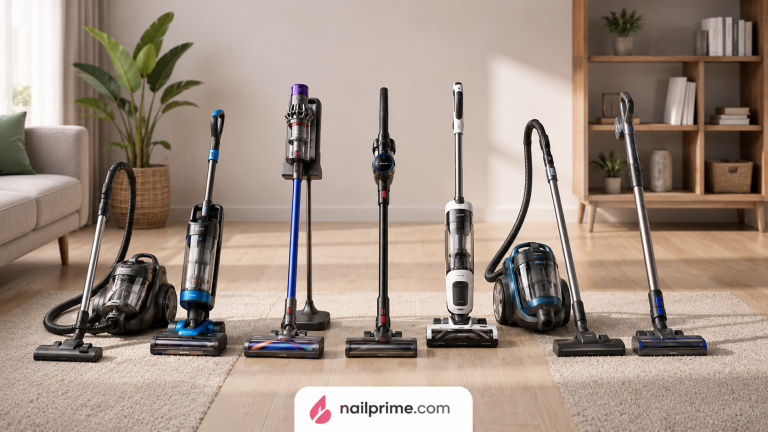
Not all vacuums are created equal. The way you store your appliance will vary based on its design and power source.
Stick and Cordless Vacuums
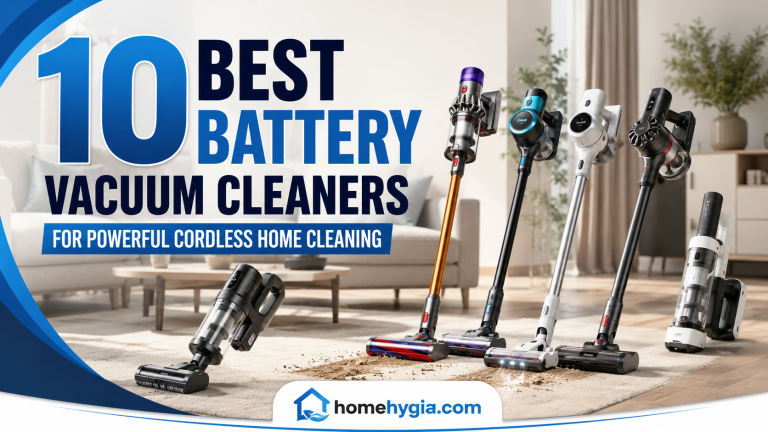
Cordless vacuums rely on lithium-ion batteries. Extreme temperatures are the enemy of battery life. Always store your cordless vacuum indoors, away from direct sunlight or heat vents.
If your vacuum uses a wall-mounted docking station, ensure it is installed near a grounded outlet. Furthermore, modern smart chargers will stop drawing heavy current once the battery is full, aligning with ENERGY STAR recommendations for battery chargers to promote energy efficiency and prevent battery overheating.
Upright and Canister Vacuums
These traditional models take up the most space. For uprights, always lock the machine in the upright position to take pressure off the brush roll bristles. For canister vacuums, detach the wand and hose if space is tight, and hang the hose loosely over a hook to prevent it from kinking or cracking. A cracked hose will leak fine dust back into your air while you clean.
Wet/Dry Shop Vacuums
If you use a wet/dry vacuum inside your home, storage requires strict rules. Never store a wet/dry vacuum without thoroughly emptying, washing, and drying the canister. Leaving even a small amount of dirty water inside will cause rapid, severe mold growth. The resulting spores will blast into your indoor air the next time you turn the unit on.
Expert Tip:
Always let washable vacuum filters air-dry for at least 24 to 48 hours before putting them back into your stored vacuum. Even a tiny amount of residual moisture inside a closed, dark closet can cause mildew to grow on the filter, which will ruin your home’s air quality the second you turn the machine on.
Common Mistakes Homeowners Should Avoid
Even well-intentioned homeowners make storage mistakes that can compromise their air quality and ruin their cleaning appliances. Be sure to avoid the following:
- Storing a machine with a full bag: This restricts airflow, strains the motor, and creates a concentrated pocket of allergens and odors in your closet.
- Ignoring a smelly vacuum: If your vacuum smells bad when you put it away, the smell will be worse when you take it out. A bad odor usually means a clogged filter or a dirty brush roll.
- Storing in the garage during winter: Freezing temperatures can cause plastic housing to become brittle and crack, leading to a loss of suction and poor dust retention.
- Wrapping the cord too tight: This causes the internal copper wires to fray, creating a fire hazard and shorting out the machine.
- Forgetting about the attachments: Storing attachments loosely at the bottom of a closet often leads to them getting crushed or collecting heavy dust. Keep them in a dedicated bag or attached to the vacuum’s onboard storage clips.
When to Consult an Air Quality or HVAC Professional
While keeping your vacuum clean and properly stored goes a long way in managing daily dust, it is not a cure-all for severe indoor air quality problems. You should consider reaching out to an HVAC or indoor air quality professional if you notice the following:
Dust settles immediately after vacuuming: If you vacuum your home and notice a thick layer of dust on your tables and shelves just a few hours later, your vacuum might be leaking, or your home’s HVAC system may be spreading dust through the ductwork.
Persistent musty odors: If your home smells stale or musty, and cleaning your vacuum filters doesn’t help, you may have hidden mold or high humidity levels that require a whole-home dehumidifier or professional assessment.
Allergy symptoms never improve: If you have upgraded to a sealed-system HEPA vacuum and are storing it correctly, but your family still suffers from indoor allergies, a professional can help. They can assess your home for proper ventilation and recommend a dedicated standalone HEPA air purifier sized correctly for your living space (measured by its CADR, or Clean Air Delivery Rate) to run constantly.
Relying solely on a vacuum—no matter how well-maintained—is sometimes not enough for sensitive individuals. A balanced approach combining good cleaning habits with whole-home filtration yields the best health protection.
FAQs
Should I empty my vacuum after every use?
Yes, especially if you have a bagless vacuum. Emptying the dustbin after every use prevents dirt from settling, stops odors from forming, and ensures your vacuum has maximum suction power for the next cleaning session.
Can I store my vacuum cleaner in the garage?
It is generally not recommended. Garages experience extreme temperature swings and high humidity. This can cause rubber belts to crack, plastic to become brittle, and mold to grow inside the machine’s dustbin and filters.
Why does my vacuum smell bad when I take it out of storage?
A foul-smelling vacuum is usually caused by organic matter (like pet hair, food crumbs, or damp dirt) rotting inside the dustbin, bag, or filters. Always empty the bin and wash or replace the filters to eliminate the odor.
How do you store a vacuum hose so it doesn’t break?
Never forcefully bend or stretch the hose. For canister vacuums, detach the hose and drape it in a wide, loose loop over a heavy-duty wall hook, ensuring there are no sharp kinks that could cause the plastic to split.
Does a dirty vacuum affect my home’s air quality?
Absolutely. If your vacuum has a clogged HEPA filter, full bag, or degraded seals, it will fail to trap microscopic particles. Instead of cleaning, it will simply agitate dust, pet dander, and allergens, blasting them back into your indoor air.
Where is the best place to store a robot vacuum?
Store your robot vacuum on its charging dock in a dry, climate-controlled room. Place the dock against a wall in a low-traffic area, like under a side table or in a dining room, ensuring it is out of direct sunlight to protect the battery.
Conclusion
Knowing how to store a vacuum cleaner properly is a simple but highly effective way to protect your investment and improve your home’s indoor air quality. By taking a few extra minutes to empty the bin, check the HEPA filters, and coil the cord loosely, you stop odors and allergens from breeding in your closet.
Always prioritize a dry, temperature-controlled storage location over a damp garage or basement. When you treat your vacuum as an essential part of your home’s air filtration strategy, it will reward you with stronger suction, a longer lifespan, and a visibly cleaner, fresher home.
Take a moment today to check your vacuum cleaner in its storage spot—empty the bin, inspect the filter, and make sure it’s ready to protect your home’s air during its next use.