A Mop and a Bucket: Genius Cleaning Essentials
A mop and a bucket are surprisingly genius cleaning essentials, offering simple yet effective ways to tackle spills and grime for sparkling floors. This guide explores their timeless utility, different types, and how to use them like a pro for a cleaner home.
Have you ever looked at a mop and a bucket and thought, “That’s it?” It’s true, these simple tools are the unsung heroes of home cleaning. They might seem basic, but they get the job done for most floor messes. Many people struggle with keeping their floors clean. They might use too much water or the wrong cleaner. This can leave streaks or damage floors. I’m here to show you how powerful a mop and a bucket can be when used correctly. We will explore different types and best practices.
Why a Mop and a Bucket Are Still Cleaning Champions
A mop and a bucket remain top cleaning tools for good reason. They are incredibly versatile for different floor types. You can use them for quick spills or deep cleaning. Their simplicity makes them easy for anyone to use. Even with advanced cleaning gadgets, a mop and a bucket offer unmatched value. They are affordable and require no complicated setup.
This essential duo is perfect for tackling everyday dirt and grime. They provide a hands-on approach to cleaning. You can see exactly where you are cleaning. This direct control helps achieve a truly spotless finish.
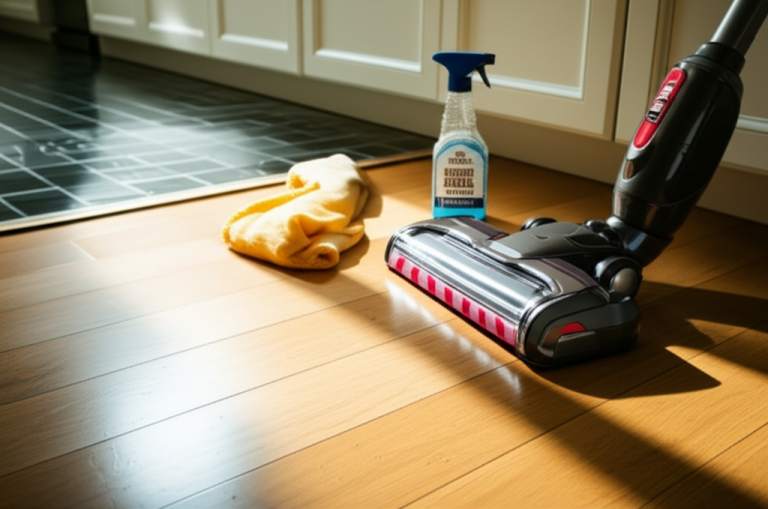
Understanding the Basic Mop and Bucket System
At its core, the system involves a mop head to absorb liquid and dirt. The bucket holds water and cleaning solution. You dip the mop in the bucket to wet it. Then, you wring out the excess water. Finally, you use the damp mop to clean the floor. After cleaning a section, you rinse the mop back in the bucket. This process repeats until the floor is clean.
The beauty of a mop and a bucket lies in its simplicity. There are no batteries to charge or complex parts to break. It’s a reliable method for maintaining clean floors.
Types of Mops: Finding Your Perfect Match
There are many types of mops available today. Each one is designed for different needs and floor surfaces. Choosing the right mop is key to effective cleaning.
String Mops
These are the classic, fluffy mops. They are great for absorbing large spills. String mops work well on tile and linoleum. They can hold a lot of water, making them good for big areas.
Flat Mops
Flat mops have a wide, rectangular head. They are excellent for reaching under furniture. Many come with a microfiber pad that traps dirt effectively. They are good for hardwood, laminate, and tile floors.
Sponge Mops
Sponge mops have an absorbent sponge head. They are very good at soaking up liquids quickly. These are best for smooth surfaces like tile. They often have a built-in wringer.
Microfiber Mops
Microfiber mops are very popular. Their pads are made of tiny fibers that grab dirt and dust. They clean well with just water or a mild cleaner. They are safe for most floor types, including delicate ones.
Choosing the right mop ensures you clean efficiently. It also prevents damage to your floors. A damaged floor can be costly to repair.
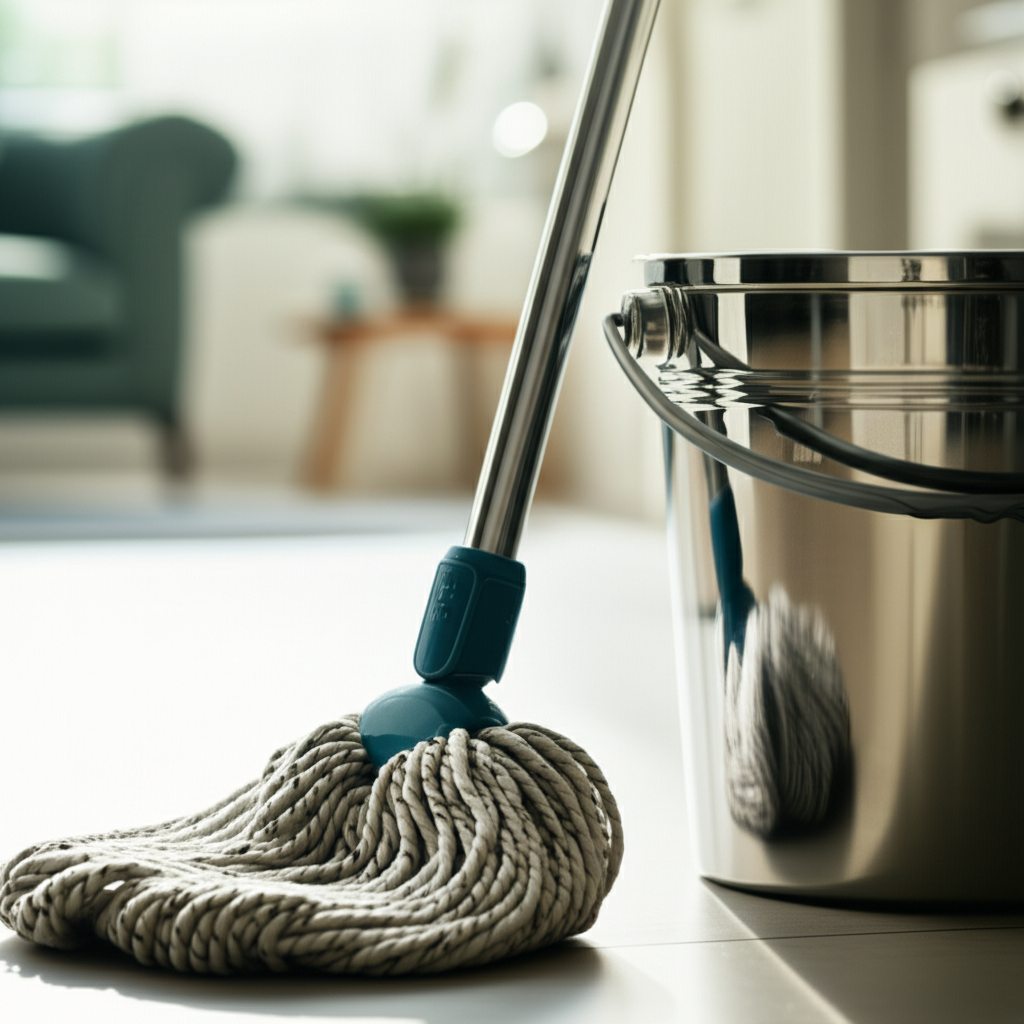
The Humble Bucket: More Than Just a Container
The bucket is the other half of this cleaning team. It’s not just for holding water. A good bucket helps you manage the cleaning solution. It also helps you wring out the mop effectively.
Standard Buckets
These are basic, open-top buckets. You dip your mop in and wring it out by hand or with a built-in spinner. They are simple and affordable.
Self-Wringing Buckets
Some buckets have a built-in mechanism to wring out the mop. This makes the process easier and less messy. You don’t need to touch the dirty mop head.
Dual-Chamber Buckets
These advanced buckets have two compartments. One is for clean water and solution. The other is for dirty water. This keeps your cleaning water fresh longer. It helps you avoid spreading dirt around.
A well-chosen bucket can make cleaning much easier. It can also lead to better results.
Getting Started: Your Step-by-Step Cleaning Guide
Using a mop and a bucket effectively is simple with the right steps. Follow this guide for a sparkling clean floor.
1. Prepare Your Area: Clear the floor of any toys, shoes, or furniture. This gives you a clear path to clean.
2. Choose Your Cleaning Solution: Add a small amount of your preferred floor cleaner to the bucket. Too much cleaner can leave residue. Check your floor type for recommended cleaners.
3. Fill the Bucket with Water: Use warm water. It helps to dissolve dirt and grease better.
4. Wet and Wring the Mop: Dip the mop head into the water. Wring out most of the water until the mop is damp, not soaking wet. Excess water can damage floors like hardwood.
5. Mop in Sections: Start in a corner furthest from the door. Mop in an “S” pattern or back-and-forth motion. This ensures you cover the entire floor.
6. Rinse and Repeat: Rinse the mop in the dirty water compartment (if you have one) or the clean water. Wring it out again. Continue cleaning.
7. Change Water as Needed: When the water becomes dirty, empty the bucket and refill it with fresh water and cleaner. This is crucial for truly clean floors.
8. Dry the Floor: Allow the floor to air dry. You can also use a clean, dry towel or mop to speed up drying if needed.
Following these steps ensures a thorough clean. It also protects your floors from too much moisture.
Best Practices for Optimal Floor Cleaning
Using a mop and a bucket goes beyond just wetting and wiping. A few smart practices make a big difference.
Know Your Floor Type: Different floors need different care. Hardwood needs less water than tile. Always use cleaners recommended for your specific flooring.
Don’t Over-Wet: Too much water is a common mistake. It can warp wood, damage grout, or leave streaks. A damp mop is usually best.
Change Water Frequently: Dirty water just moves dirt around. Aim to change your bucket water when it looks murky. This is especially important for dual-chamber buckets.
Clean Your Mop: After you finish, rinse your mop head thoroughly. Let it air dry completely to prevent mildew.
Regular Sweeping/Vacuuming: Always sweep or vacuum your floors before mopping. This removes loose dirt and debris. Mopping a dusty floor just pushes dust around.
These simple tips help you clean better and more efficiently. They also help your floors last longer.
Common Mistakes to Avoid with a Mop and a Bucket
Even with simple tools, mistakes can happen. Being aware of them helps you avoid common pitfalls.
Using Too Much Soap: A common error is adding too much cleaner. This leaves a sticky residue. It attracts more dirt over time.
Not Rinsing the Mop Enough: A dirty mop spreads grime. Always rinse it well in clean water.
Letting the Mop Stay Wet: Leaving a damp mop in the bucket or a dark closet invites mold and bacteria. Always dry it thoroughly.
Using the Wrong Cleaner: Harsh chemicals can damage delicate floor finishes. Always read labels and know what’s safe for your floor. For instance, using ammonia on hardwood can dull its finish.
Mopping Over Untreated Spills: Don’t try to mop up sticky spills like honey without pre-cleaning. They can smear and make a bigger mess.
Avoiding these mistakes ensures your cleaning efforts are effective. It also keeps your floors looking their best.
When to Consider Other Cleaning Tools
While a mop and a bucket are fantastic, they aren’t always the best solution for every situation. Sometimes, other tools are more efficient.
For Quick Spot Cleaning: A damp cloth or paper towel can be faster for small, fresh spills.
For Deep Sanitizing: Steam mops can kill more germs without chemicals. They are good for kitchens and bathrooms. Brands like Bissell offer popular steam mop options.
For Large Homes: Robot mops can clean automatically. They save a lot of time and effort. iRobot’s Braava jet m is an example of such a device.
For Tough Grime: A scrub brush might be needed for stubborn spots on tile or grout.
Knowing when to switch tools can save time. It also ensures a more thorough clean for specific tasks.
The Environmental and Economic Benefits
Using a mop and a bucket is also a greener choice. Many modern cleaning gadgets use electricity or disposable parts. A simple mop and bucket often require less energy. You can also use eco-friendly cleaning solutions.
Economically, they are a clear winner. A good mop and bucket set is very affordable. They last for years with proper care. This saves money compared to buying expensive cleaning machines or frequent refills of specialized cleaning products. For example, a quality mop and bucket set can cost under $50, while a high-end robotic mop can cost several hundred dollars.
Maintaining Your Mop and Bucket
Proper care ensures your cleaning tools work well for a long time. This saves you money and hassle.
Clean the Mop Head: After each use, rinse the mop head thoroughly. Remove all dirt and debris.
Dry the Mop: Hang the mop to air dry completely. This prevents mildew and odors.
Clean the Bucket: Wash the bucket after use. This removes any residue. Let it dry upside down.
Replace Worn Parts: Mop heads wear out over time. Replace them when they become matted or lose absorbency. Buckets can crack or their wringing mechanisms can fail.
Taking a few minutes to clean your tools makes a big difference. It keeps them ready for the next cleaning session.
Frequently Asked Questions about Mops and Buckets
What is the best cleaner to use with a mop and bucket?
It depends on your floor type. For most floors, a mild dish soap or a commercial floor cleaner diluted with warm water works well. Always check your floor manufacturer’s recommendations.
How often should I change the water in my bucket?
Change the water every time it looks dirty. For larger areas, you might need to change it several times. Keeping the water clean is key to effective mopping.
Can I use a mop and bucket on hardwood floors?
Yes, but be very careful. Use a mop designed for hardwood floors and ensure it’s only damp, not wet. Use cleaners specifically made for hardwood. Avoid excess water, as it can damage the wood.
How do I get rid of stubborn stains with a mop and bucket?
For tough stains, you might need a stronger cleaner or a bit of pre-treatment. Apply a suitable stain remover directly to the spot. Let it sit for a few minutes before mopping the area. A scrub brush might also be necessary for very tough grime.
Why does my floor look streaky after mopping?
Streaky floors often result from using too much cleaner, too much water, or a dirty mop. Ensure you rinse your mop frequently and use the correct amount of cleaner. Also, make sure you’re using a clean mop head.
How do I clean a string mop head?
You can machine wash most string mop heads. Check the manufacturer’s instructions. If washing by hand, soak it in warm, soapy water, rinse thoroughly, and hang it to dry completely.
Conclusion: The Enduring Power of a Mop and a Bucket
In a world of high-tech gadgets, a mop and a bucket stand out for their simple effectiveness. They are affordable, easy to use, and get the job done for most floor cleaning needs. By understanding the different types of mops and buckets, following best practices, and avoiding common mistakes, you can achieve beautifully clean floors. These essential tools prove that sometimes, the oldest methods are still the best. Embrace the power of a mop and a bucket for a cleaner, happier home.