DIY Ozone Generator: Genius & Essential Guide
Build your own powerful diy ozone generator for a cleaner, fresher home environment. This comprehensive guide provides step-by-step instructions, safety tips, and essential knowledge for a successful and cost-effective project.
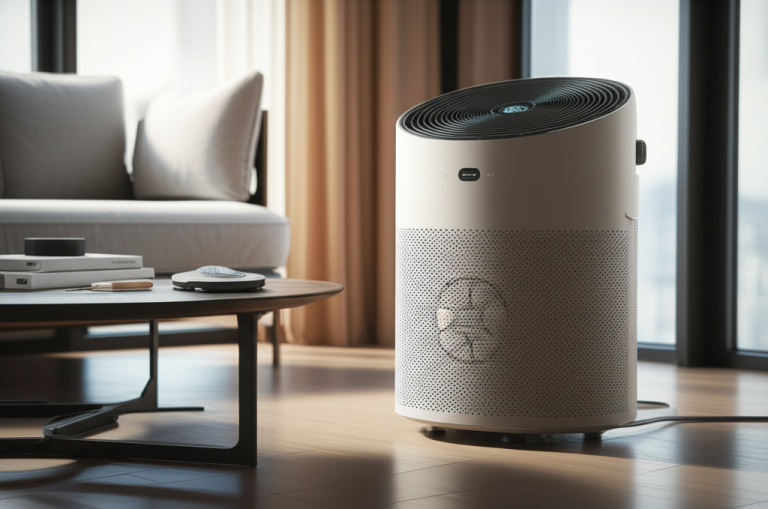
Ever wondered how to tackle stubborn odors, mold, or stale air in your home? Many commercial ozone generators can be expensive, and their effectiveness varies. Building your own diy ozone generator offers a smart, cost-effective solution and a rewarding project for the technically inclined. It’s a way to take control of your home’s air quality using readily available components. This guide will walk you through everything you need to know, from understanding ozone to assembling your very own unit safely and effectively.
Why Build a DIY Ozone Generator?
Building a diy ozone generator is a fantastic way to achieve powerful air purification at a fraction of the cost of commercial units. You gain a deeper understanding of the technology and can customize its output for specific needs, whether it’s for odor removal, sanitization, or even water purification. This hands-on approach empowers you to create a solution tailored to your environment.
Understanding Ozone: The Power of O₃
Ozone (O₃) is a molecule composed of three oxygen atoms, distinct from the O₂ we breathe. It’s a highly reactive gas that acts as a potent oxidizer, effectively neutralizing airborne pollutants like odors, bacteria, viruses, and mold spores. While beneficial in the upper atmosphere, concentrated ozone can be harmful to inhale, making proper usage and safety paramount for any diy ozone generator.
Essential Components for Your DIY Ozone Generator
To construct your diy ozone generator, you’ll need a few key components. The heart of the system is the ozone generation module, typically a ceramic plate or a corona discharge tube. You’ll also need a high-voltage power supply to activate the module, a fan for air circulation, a sturdy enclosure, and appropriate wiring and safety features. Sourcing these parts from reputable electronics suppliers is crucial for a reliable build.
Key Components Breakdown:
Ozone Generation Module: The core piece that produces ozone.
High-Voltage Power Supply: Provides the necessary electrical charge.
Cooling Fan: Ensures components don’t overheat and circulates treated air.
Enclosure: Houses all components safely and directs airflow.
Wiring and Connectors: For safe and secure electrical connections.
Timer: To control the operational duration of the unit.
Safety First: Precautions for Your DIY Ozone Generator Project
Working with high voltage and ozone gas requires extreme caution. Always disconnect power before making any adjustments, and ensure your enclosure is well-ventilated. Never operate a diy ozone generator in occupied spaces, as prolonged exposure to ozone can irritate the respiratory system. It is vital to follow all safety guidelines meticulously to prevent accidents and ensure the safe use of your finished product.
Critical Safety Considerations:
High Voltage Hazard: Always handle electrical components with care and ensure proper insulation.
Ozone Exposure: Operate only in unoccupied areas and ventilate thoroughly after use.
Component Overheating: Use adequate cooling and monitor temperatures during operation.
Secure Enclosure: Prevent access to internal components during operation.
Step-by-Step Assembly Guide for Your DIY Ozone Generator
Building your diy ozone generator is a multi-step process that requires careful attention. Start by preparing your enclosure, then mount the ozone module and fan. Wire the high-voltage power supply to the module and the fan to its power source, ensuring all connections are secure and insulated. Finally, integrate a timer for controlled operation and test the unit in a safe, unoccupied environment.
Assembly Stages:
1. Enclosure Preparation: Drill necessary holes for the fan, power input, and ventilation.
2. Component Mounting: Securely attach the ozone module and fan within the enclosure.
3. Electrical Wiring: Connect the high-voltage power supply to the ozone module and wire the fan.
4. Timer Integration: Install and wire the timer to control the power supply.
5. Final Checks: Double-check all connections for security and insulation before powering on.
Choosing the Right Ozone Generation Module
The type of ozone generation module you select significantly impacts your diy ozone generator‘s performance. Ceramic plate modules are common for smaller units, while corona discharge tubes are often found in more powerful applications. Consider the desired ozone output (measured in mg/hr) and the intended use case when making your choice. Researching specifications and user reviews for different modules is highly recommended.
Powering Your DIY Ozone Generator: The High-Voltage Supply
A stable and appropriate high-voltage power supply is critical for your diy ozone generator to function correctly. These supplies convert standard AC power to the high DC voltage required to create ozone. Ensure the voltage and current output match the specifications of your chosen ozone generation module. Incorrect power can damage components or lead to insufficient ozone production.
Designing for Airflow and Efficiency
Effective airflow is key to maximizing the impact of your diy ozone generator. A well-placed fan ensures that ozone is distributed evenly throughout the treatment area and helps dissipate heat from the ozone module. Consider the size of your enclosure and the room you intend to treat when selecting a fan and designing the ventilation pathways for optimal performance. Good airflow prevents ozone from concentrating too heavily in one spot.
Testing and Calibration of Your Homemade Ozone Unit
Once assembled, thoroughly test your diy ozone generator in a controlled setting. Run it for short periods initially, monitoring for any unusual sounds or smells. Ensure the ozone output is consistent and that the unit operates as expected with the timer. Proper testing confirms functionality and safety before deploying it for actual air purification tasks.
Applications of Your DIY Ozone Generator
A diy ozone generator can be incredibly versatile. It’s excellent for eliminating persistent odors from pets, smoke, or cooking, and for sanitizing spaces after illness. Many users find them effective in treating basements, cars, and even for purifying water. However, always remember that ozone should only be used in unoccupied areas, with thorough ventilation afterward.
Common Use Cases:
Odor Elimination: Tackles smoke, pet, cooking, and mildew smells.
Sanitization: Helps neutralize airborne bacteria and viruses.
Mold Remediation: Can be used to treat mold-affected areas.
Water Purification: With appropriate adaptations, can sanitize water.
Legal and Health Considerations for Ozone Generators
It’s important to be aware of regulations and health advisories regarding ozone generators. While a diy ozone generator can be a powerful tool, health organizations like the U.S. Environmental Protection Agency (EPA) advise against using ozone generators in occupied spaces due to potential respiratory risks. Always use them in well-ventilated, unoccupied areas and allow ample time for the ozone to dissipate before re-entry.
Frequently Asked Questions About DIY Ozone Generators
What is the primary purpose of a DIY ozone generator?
A diy ozone generator is primarily built to purify air by neutralizing odors, killing bacteria, and reducing mold spores through the use of ozone gas.
Is it safe to build my own ozone generator?
Building a diy ozone generator can be safe if you strictly follow electrical safety protocols and ozone handling guidelines, using it only in unoccupied spaces.
How much does it typically cost to build a DIY ozone generator?
The cost can vary, but building a diy ozone generator is generally much cheaper than buying a commercial one, often costing between $30-$100 depending on the parts sourced.
Can I use a DIY ozone generator in my bedroom while I sleep?
No, it is strongly advised not to use any ozone generator, including a diy ozone generator, in occupied spaces, especially while sleeping, due to potential health risks.
How long should I run a DIY ozone generator?
Run times for a diy ozone generator depend on the size of the space and the severity of the issue, typically ranging from 30 minutes to a few hours in unoccupied areas.
What are the risks associated with ozone?
High concentrations of ozone can irritate the lungs and throat, aggravate asthma, and damage respiratory tissues. Proper ventilation after use is essential.
Where can I buy components for a DIY ozone generator?
Components for a diy ozone generator can be found at online electronics retailers like Amazon, eBay, or specialized electronic component stores.
Conclusion: Empower Your Air Quality with a DIY Ozone Generator
Embarking on a diy ozone generator project is an intelligent and empowering way to take charge of your home’s air quality. By understanding the principles, carefully selecting components, and prioritizing safety, you can construct a highly effective air purification system. This guide has provided the essential knowledge and steps to get you started, transforming your living space into a fresher, cleaner environment. Remember to always operate your diy ozone generator responsibly and in unoccupied areas.